The Other Side of the QR Code
Guests see one screen at a time. You, the organizer, see the control room. The good news: that control room is built to be calm — a clear sidebar, one event at a time, and only the controls that matter.
Here's the full organizer experience, screen by screen.
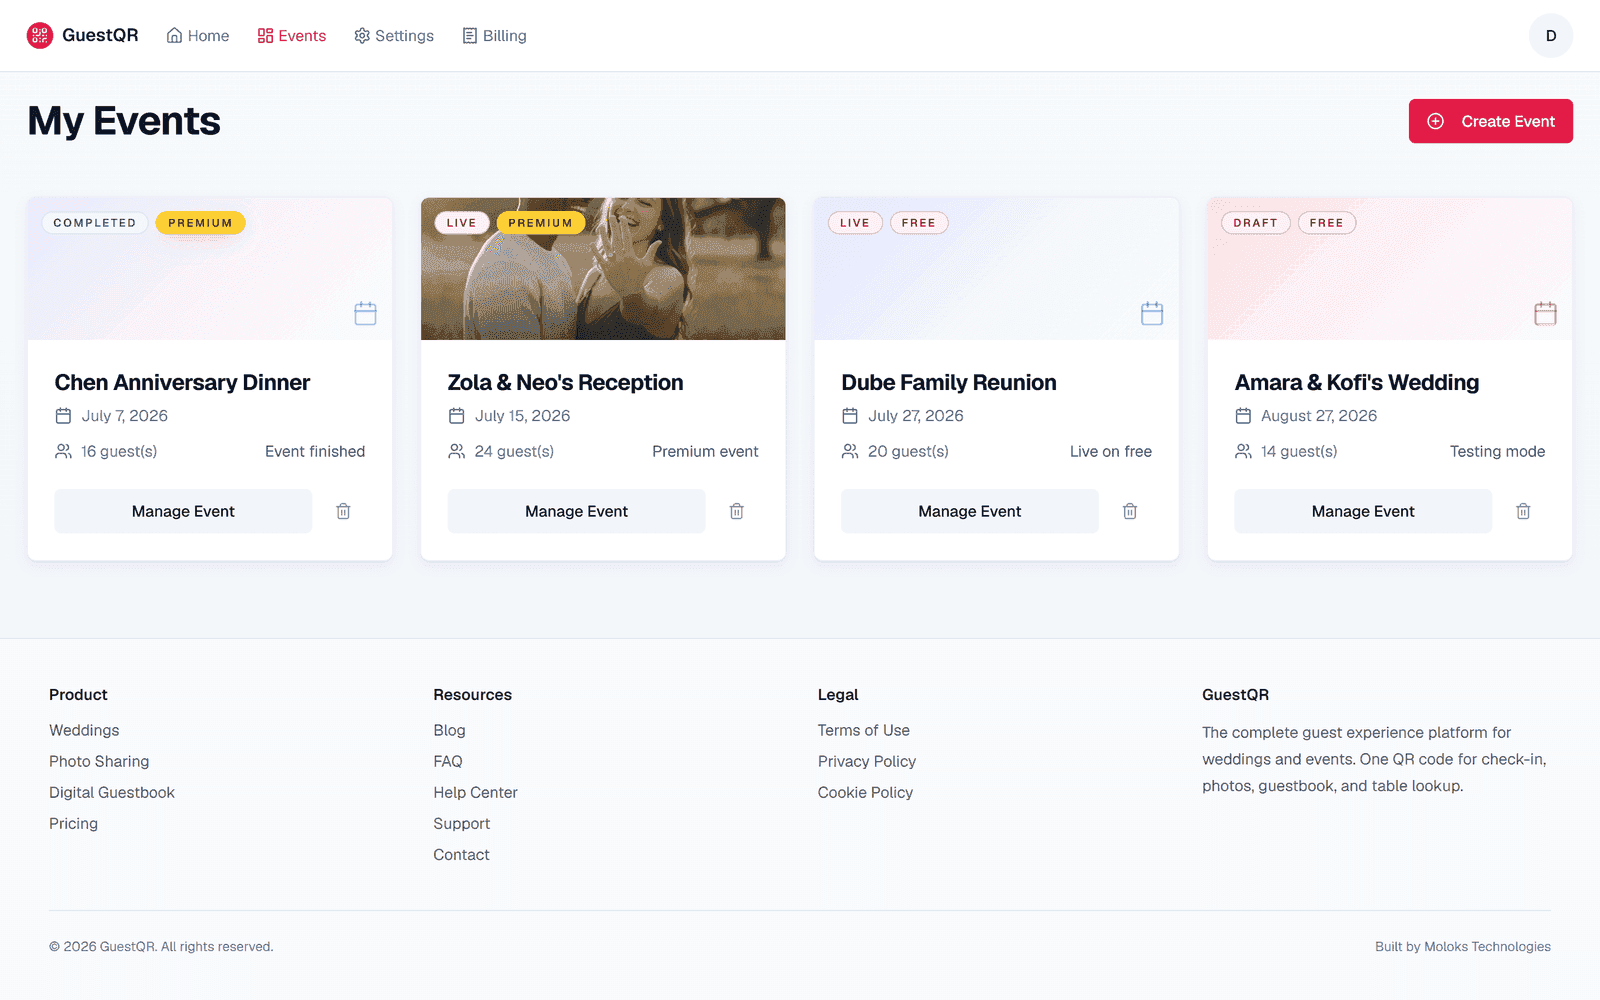
Your Events
Everything starts here. Each event is a card with its status (live, completed) and plan tier at a glance. Most people run one event at a time; planners run several.
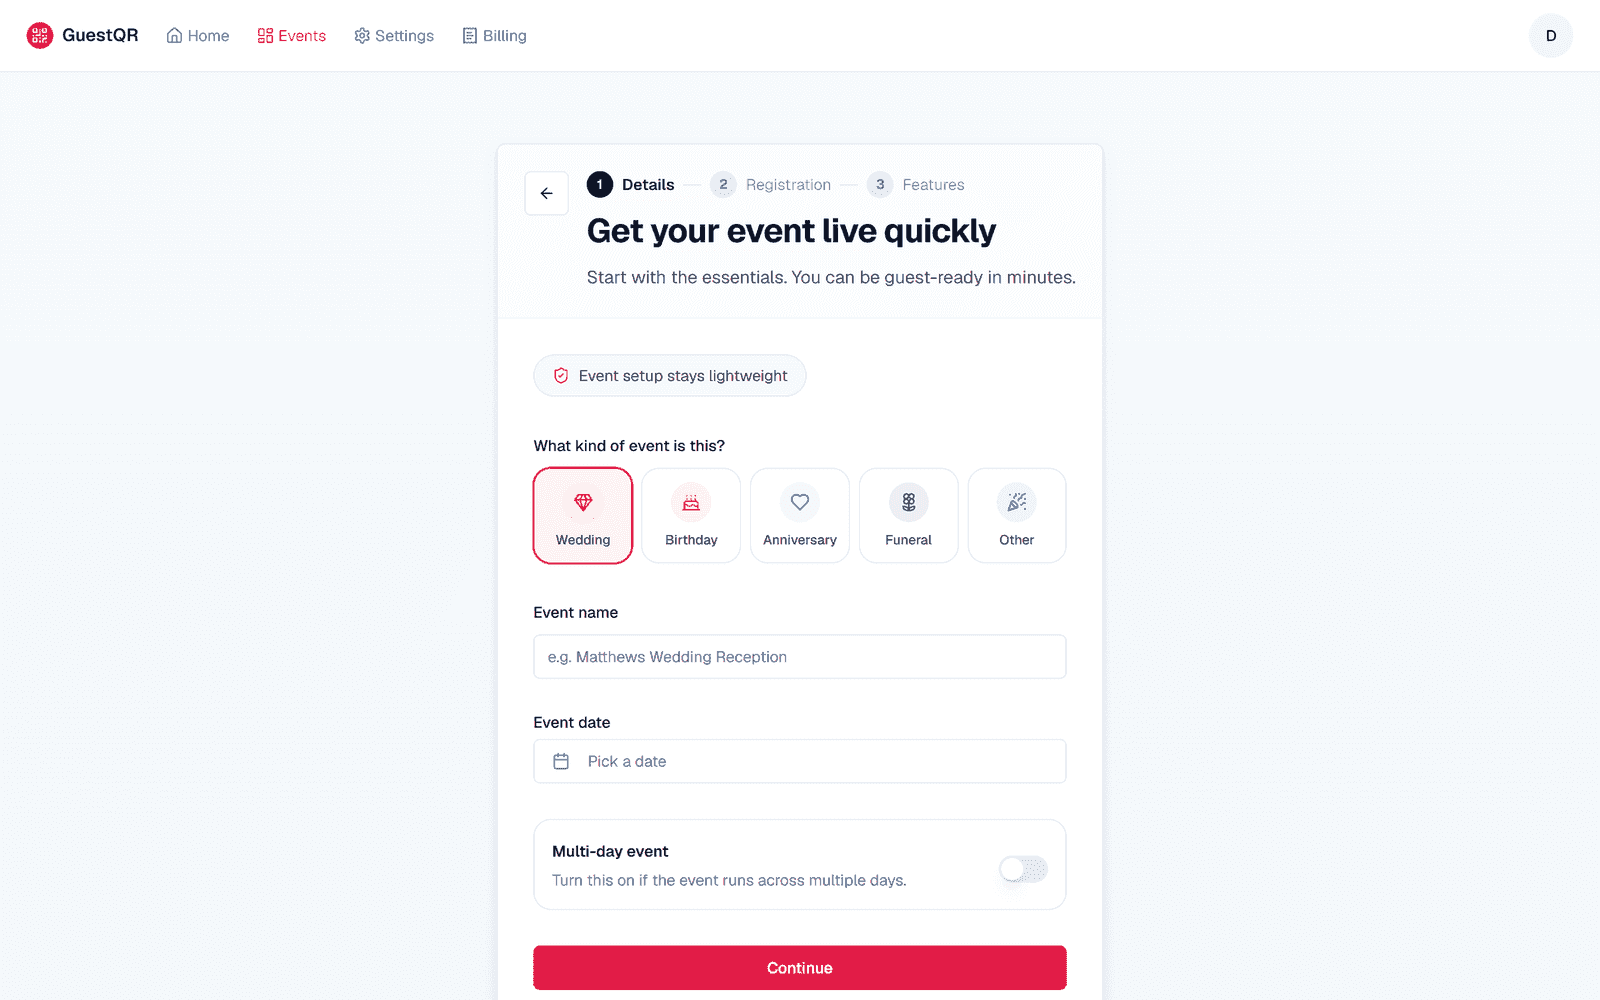
Creating an Event
New events go through a short, three-step setup: the basics, how guests get in, and which features to switch on. The event is live the moment you finish, you can be guest-ready in minutes, and nothing is locked in — every choice is editable later.
Managing Guests
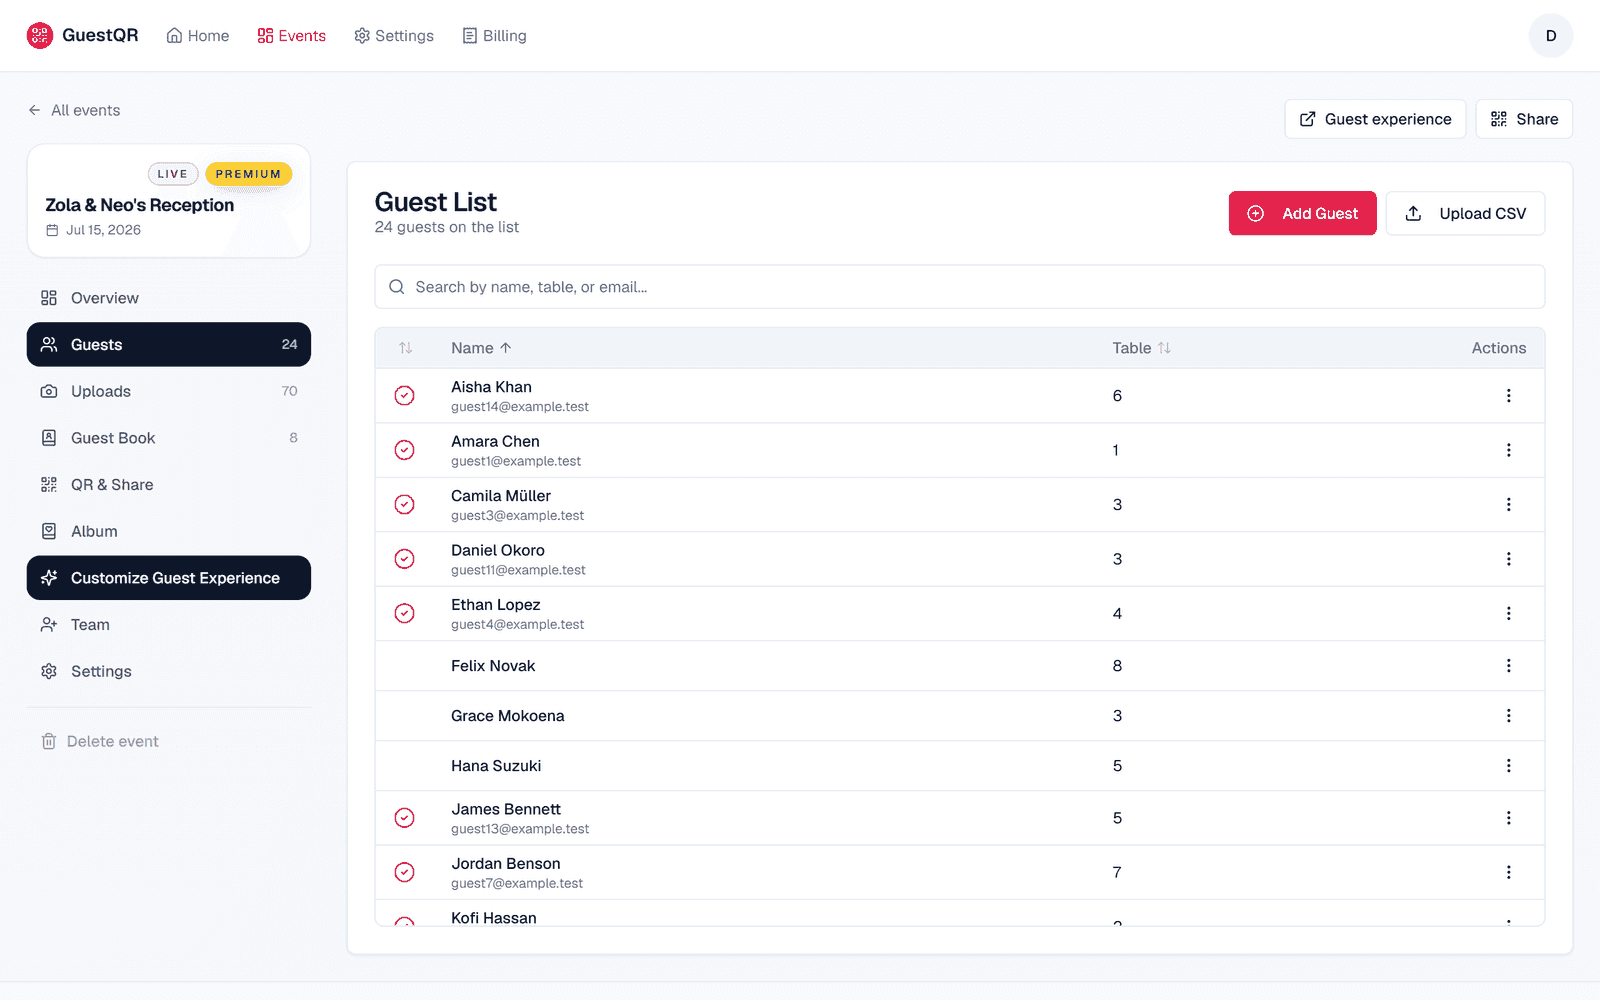
The guest list is the heart of the dashboard: searchable, sortable, paginated, with a checkmark beside everyone who's arrived. On a Guest list event, add guests by hand or import a whole spreadsheet with the CSV button; on the other doors, guests appear here as they join.
The QR & Share Page
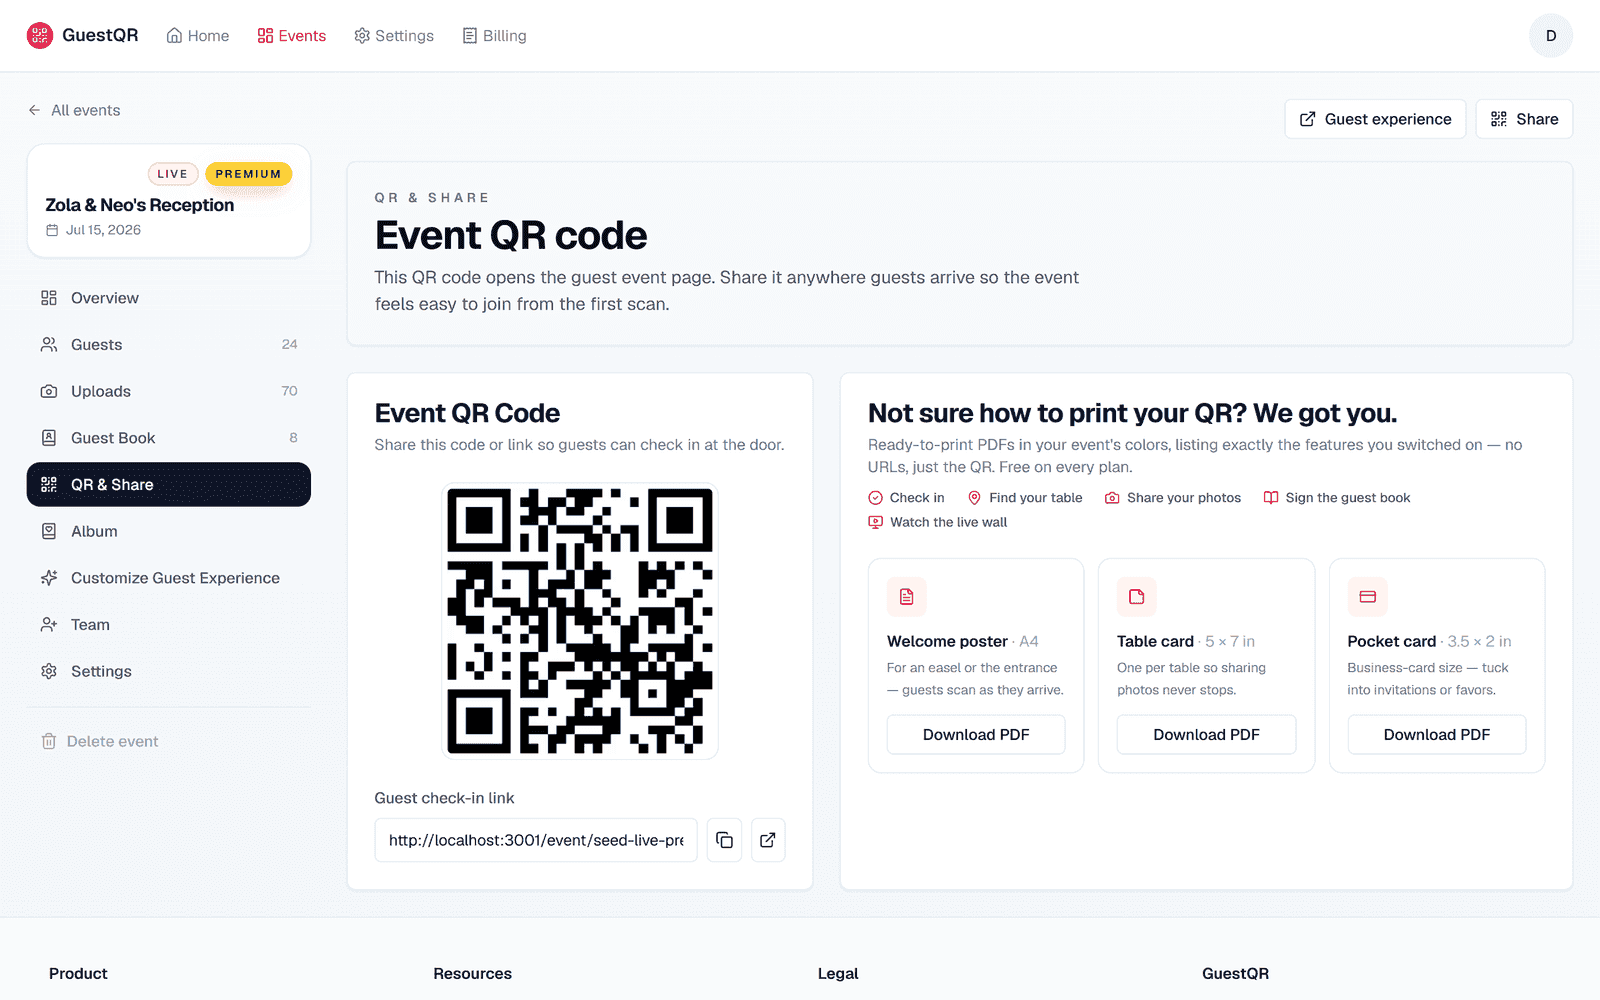
This is the page you'll act on most: your event's QR code, ready to share or print. The same code carries the entire guest experience, and a panel reminds you exactly what guests can do once they scan — based on the features you turned on.
Settings
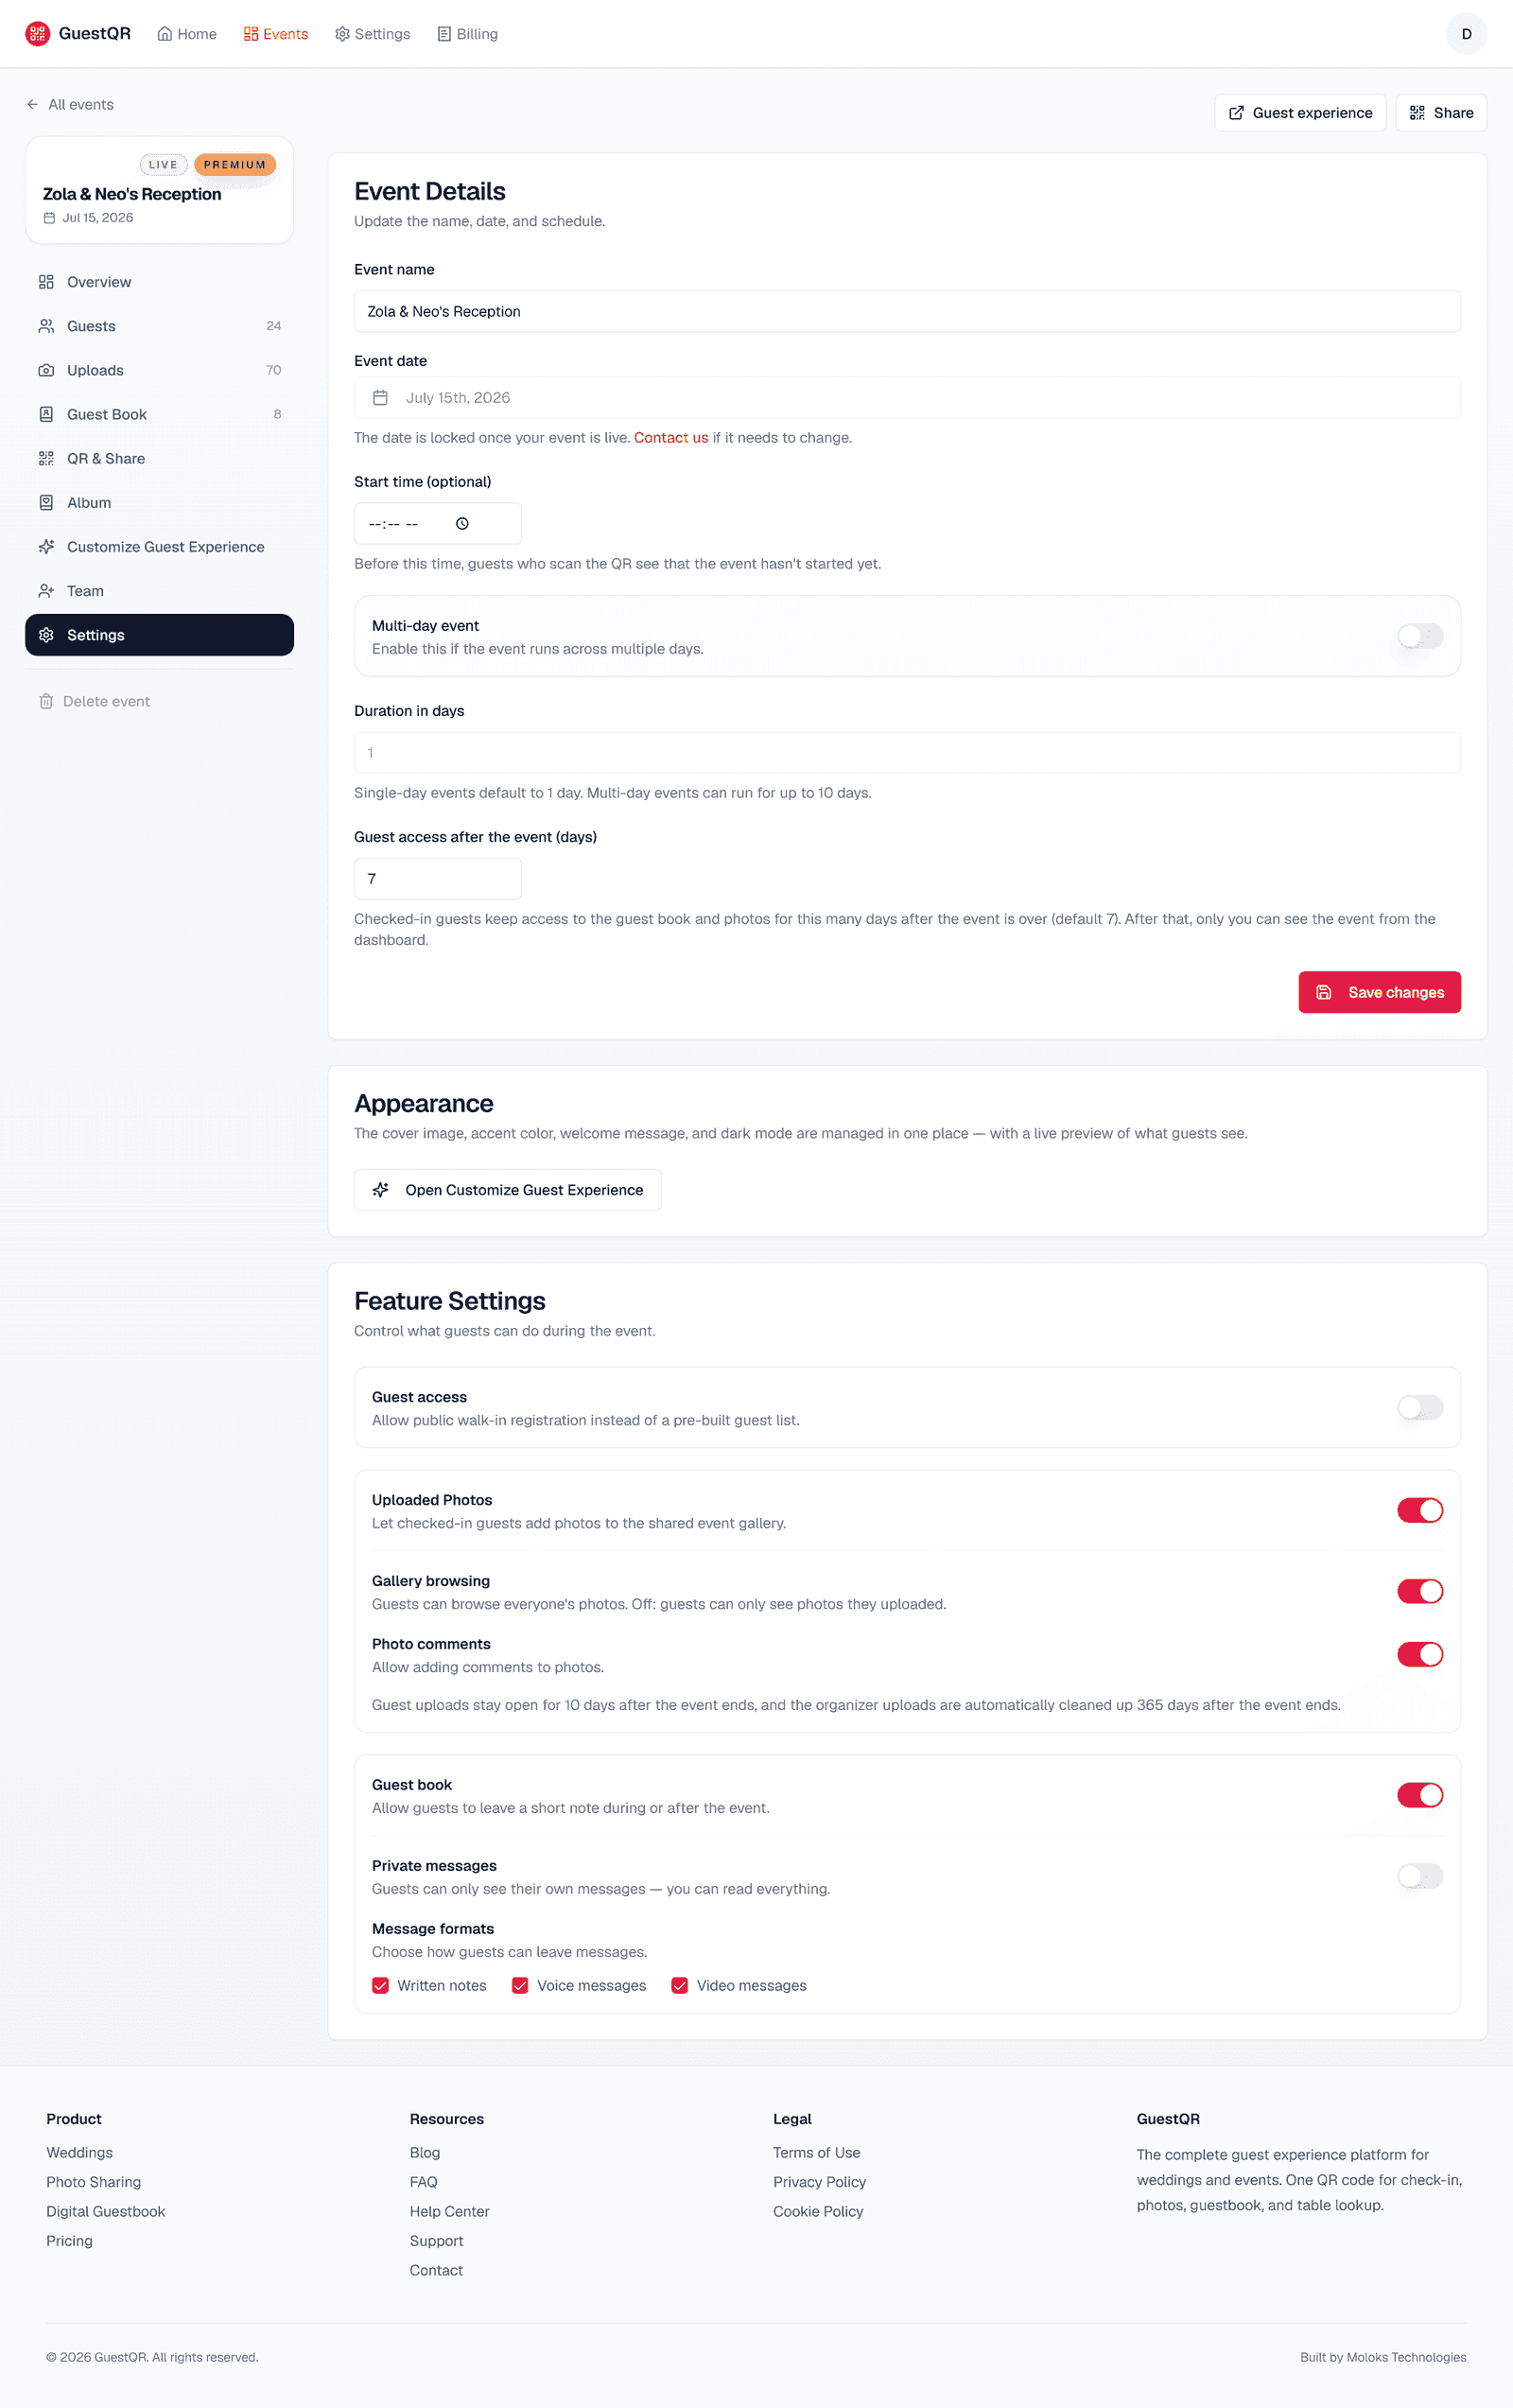
Settings holds the details — name, venue, and date — and links to the Customize studio, which is where an event gets its personality: a cover image, host names, an accent color, a welcome message, the door, and switches for every guest-facing feature — photos, comments, the live wall, videos, and the guestbook.
Rehearsal: Test It Before Guests Arrive
Every event is live from the moment it's created, and until the day itself it's in rehearsal. You can scan your own QR code, check in as a test guest, upload a photo, and see the exact guest experience before a single real guest arrives. When it's right, clear the test content from Settings → Rehearsal & data, and you're ready.
The Whole Job, One Sidebar
Step back and the design philosophy is clear: guests, uploads, guestbook, QR, settings — a handful of items in a sidebar, one event in focus. Running an event shouldn't feel like piloting enterprise software, and here it doesn't.
Run your event from one calm dashboard
Guests, QR code, and settings — all in one place, with a rehearsal to test everything first. Free to start, no card required.
Frequently Asked Questions
Can I test the event before guests see it?
Yes. Until the day itself your event is in rehearsal — scan your own code, check in as a test guest, walk the full experience, then reset the test content before real guests arrive.
Can I change features during the event?
Yes. The switches in the Customize studio can be changed at any time, so you can turn the guestbook or live wall on or off as the event unfolds.
How do I get the QR code onto paper?
Download it from the QR & Share page as an image and drop it into any card, sign, or program you're printing for the event. Any print shop or home printer handles the rest.